Hey there! As a supplier of welded shafts, I'm here to walk you through the process of installing a welded shaft. Whether you're a DIY enthusiast or a professional in the industry, this guide will help you get the job done right.
Understanding the Welded Shaft
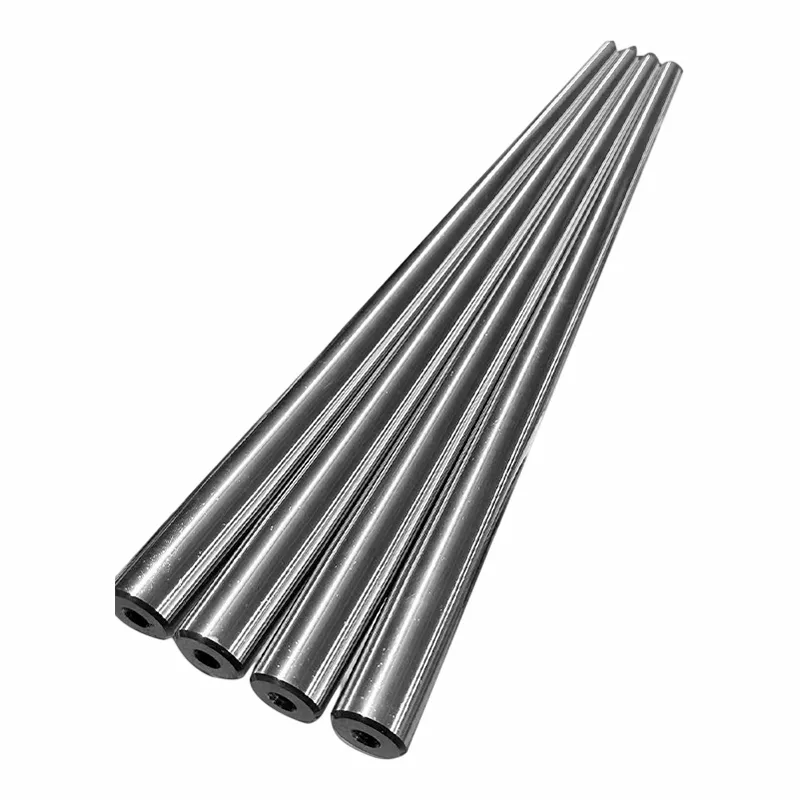
Before we dive into the installation process, let's take a quick look at what a welded shaft is. A welded shaft is a type of shaft that is created by welding two or more pieces of metal together. This method is often used to create shafts that are stronger and more durable than traditional shafts.
Welded shafts are commonly used in a variety of applications, including industrial machinery, automotive engines, and power transmission systems. They are designed to withstand high levels of stress and torque, making them ideal for heavy-duty applications.
Tools and Materials You'll Need
To install a welded shaft, you'll need the following tools and materials:
- Welding equipment: This includes a welding machine, welding electrodes, and a welding helmet.
- Measuring tools: A tape measure, caliper, and protractor will help you ensure that the shaft is installed correctly.
- Cutting tools: You'll need a hacksaw or a cutting torch to cut the shaft to the correct length.
- Grinding tools: A grinder will be used to smooth the edges of the shaft and prepare it for welding.
- Safety equipment: Make sure you have safety glasses, gloves, and a fire extinguisher on hand to protect yourself during the installation process.
Step-by-Step Installation Process
Now that you have all the necessary tools and materials, let's get started with the installation process.
Step 1: Prepare the Shaft
The first step is to prepare the shaft for installation. This involves measuring the length of the shaft and cutting it to the correct size. Use a tape measure to determine the required length, and then use a hacksaw or a cutting torch to cut the shaft.
Once the shaft is cut to the correct length, use a grinder to smooth the edges of the shaft. This will help ensure a clean and secure weld.
Step 2: Prepare the Welding Area
Before you start welding, you need to prepare the welding area. This involves cleaning the surface of the shaft and the mating parts to remove any dirt, grease, or rust. Use a wire brush or a grinder to clean the surfaces thoroughly.
Next, you need to position the shaft and the mating parts in the correct alignment. Use a protractor and a caliper to ensure that the shaft is aligned correctly. Once the shaft is in position, use clamps to hold it in place.
Step 3: Weld the Shaft
Now it's time to start welding. Put on your welding helmet and safety gloves, and turn on the welding machine. Select the appropriate welding electrode for the type of metal you're welding.
Start by making a tack weld at one end of the shaft. This will help hold the shaft in place while you continue welding. Then, make a continuous weld along the length of the shaft, using a back-and-forth motion to ensure a smooth and even weld.
Make sure to weld both sides of the shaft to ensure a strong and secure connection. Once you've finished welding, let the shaft cool down completely before removing the clamps.
Step 4: Inspect the Weld
After the shaft has cooled down, inspect the weld to make sure it's strong and secure. Look for any signs of cracks, porosity, or other defects. If you find any issues, you may need to re-weld the shaft.
Step 5: Install the Shaft
Once the weld has been inspected and approved, it's time to install the shaft. Carefully remove the clamps and position the shaft in the mating parts. Make sure the shaft is aligned correctly and that it fits snugly.
Use bolts or other fasteners to secure the shaft in place. Make sure the fasteners are tightened to the correct torque specification.
Tips and Tricks
- Use the right welding technique: Different types of metal require different welding techniques. Make sure you use the appropriate technique for the type of metal you're welding.
- Clean the surfaces thoroughly: Before you start welding, make sure the surfaces of the shaft and the mating parts are clean and free of dirt, grease, and rust. This will help ensure a strong and secure weld.
- Use the right welding electrode: Different types of welding electrodes are designed for different types of metal. Make sure you use the appropriate electrode for the type of metal you're welding.
- Weld in a well-ventilated area: Welding produces fumes and gases that can be harmful to your health. Make sure you weld in a well-ventilated area or use a respirator to protect yourself.
- Take your time: Welding is a precise process that requires patience and attention to detail. Take your time and make sure you do it right.
Related Products
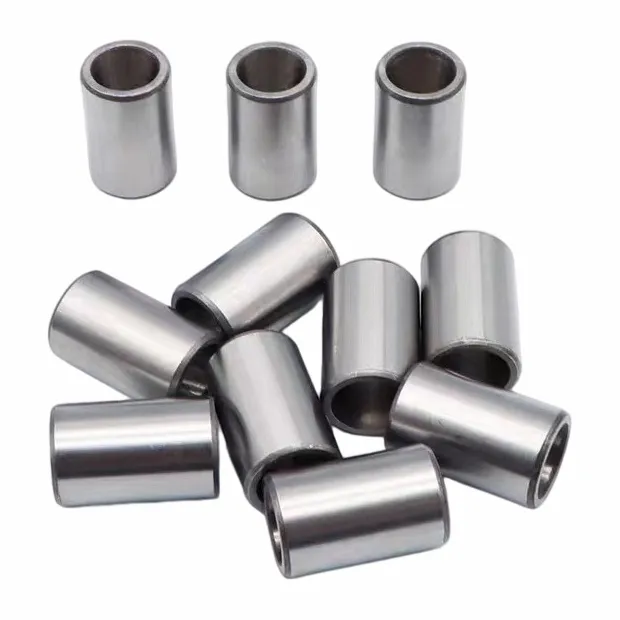
If you're looking for additional products to enhance the performance of your welded shaft, we recommend checking out our Shaft Saver Sleeve, Industrial Drive Shaft, and Smooth Shaft. These products are designed to provide extra protection and support for your welded shaft, ensuring optimal performance and durability.
Conclusion
Installing a welded shaft may seem like a daunting task, but with the right tools, materials, and techniques, it can be a relatively straightforward process. By following the steps outlined in this guide, you can ensure that your welded shaft is installed correctly and securely.
If you have any questions or need further assistance, please don't hesitate to contact us. We're here to help you with all your welded shaft needs. Whether you're looking to purchase a welded shaft or need advice on installation, we're your go-to supplier.
References
- Welding Handbook, American Welding Society
- Machinery's Handbook, Industrial Press Inc.
